Getting your full security deposit back starts with a thorough cleaning plan. Begin by reviewing your lease agreement for specific cleaning requirements your landlord expects.
Start with the most visible areas to create an immediate impact. This psychological boost can motivate you to tackle the rest of your space. Consider recruiting friends or family members to help divide the workload and make the process more efficient.

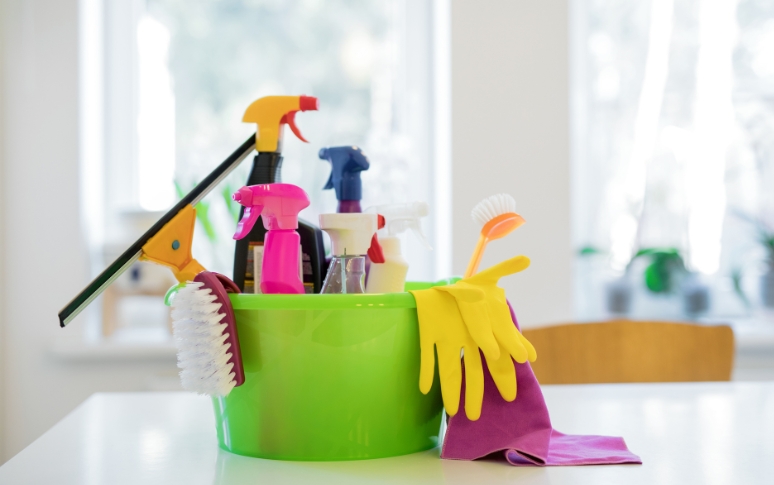
Gather all supplies before starting to maintain momentum. Your basic cleaning toolkit should include:
For tough carpet stains, consider renting a carpet cleaner from a local home improvement store. Natural cleaners like vinegar and baking soda work well for eco-conscious renters.
Start with these universal tasks that apply to all areas of your rental:
Remember to clean from top to bottom to prevent having to redo areas. Remove all nails and patch holes in walls, as these are common deductions.
Bathrooms require special attention due to moisture and potential mold issues. Start with the toilet, using a disinfectant cleaner on all surfaces, including the often-forgotten base and back.
For shower and tub areas, apply a degreaser and let it sit before scrubbing.
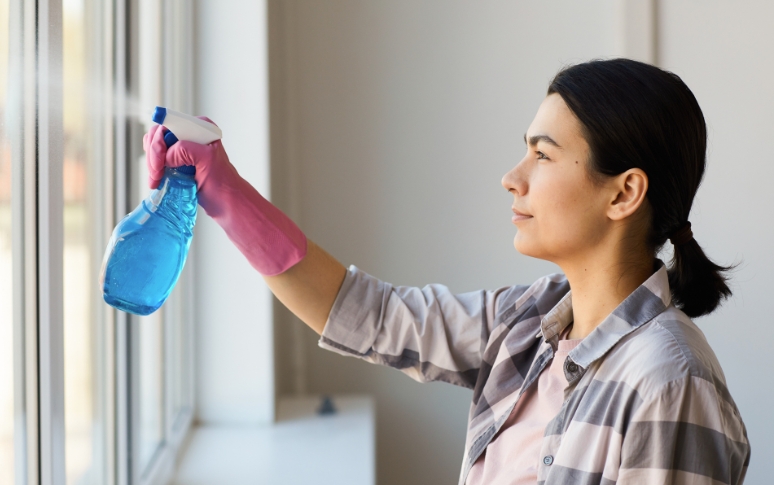
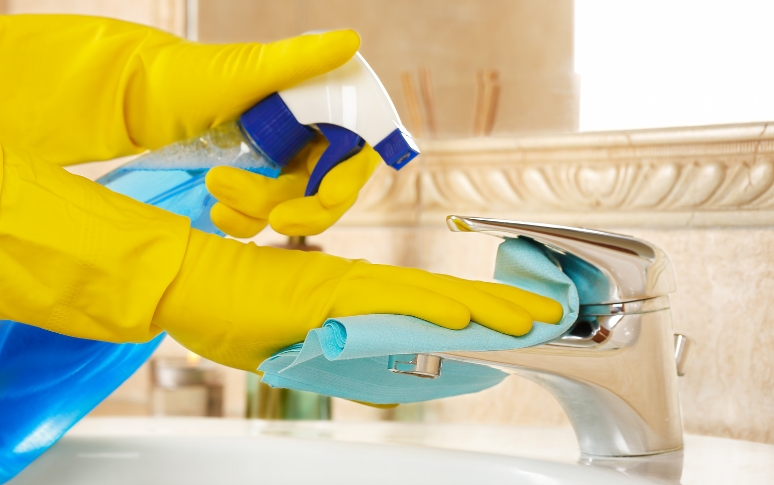
This helps break down soap scum and hard water deposits. Clean glass doors with a squeegee for streak-free results. Don't forget often-overlooked areas like exhaust fans, medicine cabinets, and the underside of faucets where grime accumulates.
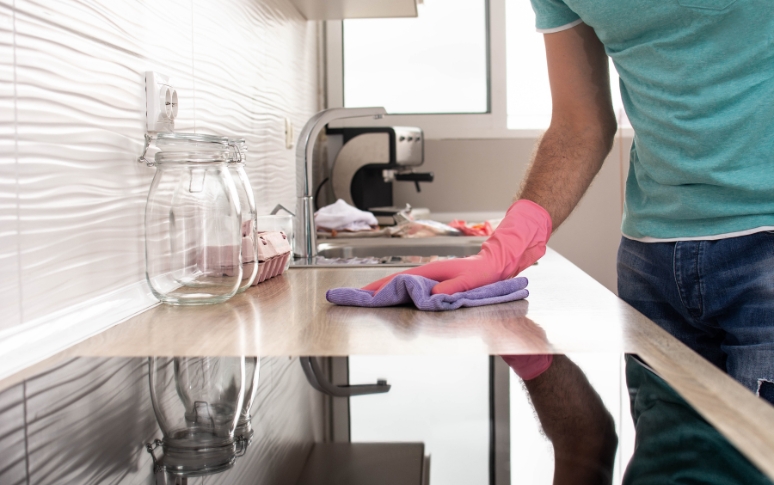
The kitchen typically requires the most intensive cleaning. Focus on degreasing surfaces, especially around the stove and vent hood, where grease builds up. Clean appliances thoroughly, including inside the refrigerator, microwave, and oven.
For the dishwasher, run an empty cycle with white vinegar to eliminate odors and sanitize. Pay special attention to cabinet fronts, handles, and the spaces between appliances where crumbs and debris collect. These details make a significant difference during inspection.
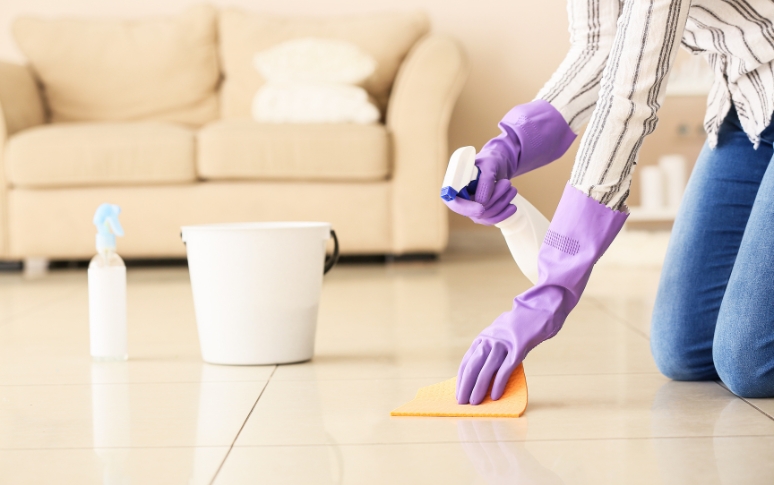
Floors make a strong impression during final inspections. For carpets, vacuum thoroughly and consider professional cleaning if stains are present. For hard surfaces, sweep or vacuum first, then mop with appropriate cleaners.
Wood floors require special care—use only wood-safe products to avoid damage. Don't forget baseboards and corners, which collect dust and can make even clean floors look neglected. A small detail brush can help reach these tight spaces.
Eliminating odors is crucial for a positive inspection. Open windows to air out spaces naturally. For persistent smells, identify and address the source rather than masking with air fresheners. Pet odors require special attention—enzymatic cleaners can break down biological residues.
For carpets and soft surfaces, baking soda can absorb odors when sprinkled, left overnight, and vacuumed thoroughly. Clean trash cans and disposal units, which often harbor lingering smells even after trash is removed.

Once cleaning is complete, conduct your own inspection. Use your phone's flashlight to check for missed spots in corners and under appliances. Take detailed photos of each room after cleaning as documentation of the condition you left the property in.
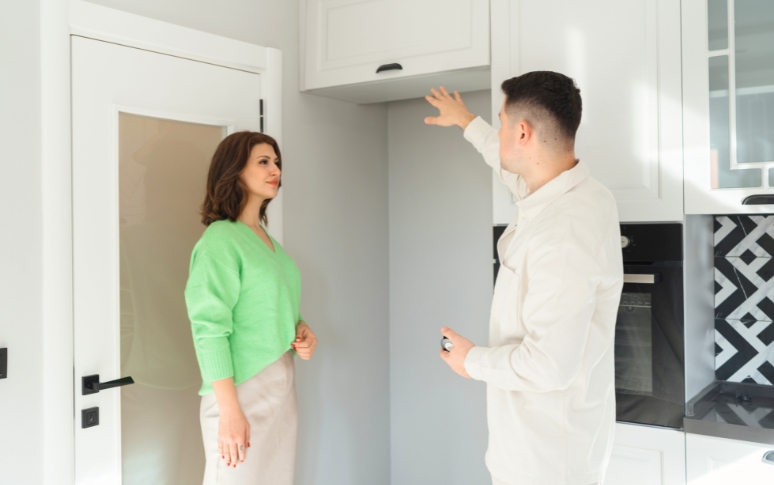
This evidence can be invaluable if disputes arise about your security deposit. Consider asking your landlord for a preliminary walkthrough before your official move-out date. This gives you the opportunity to address any concerns before the final inspection.
If time is short or the cleaning job is overwhelming, professional services may be worth the investment. Compare the cost of hiring cleaners against your security deposit amount. Many cleaning companies offer specific "move-out" packages designed to meet standard landlord expectations.
Request a detailed list of what's included and ensure it aligns with your lease requirements. For specialized cleaning needs like carpet stains or oven degreasing, targeted professional services can be more cost-effective than losing your deposit.

Was this page helpful? Give us a thumbs up!